Showing posts with label Nail Stickers. Show all posts

Thursday, December 11, 2014

12 Manis of Christmas: Santa/Rudolph!

*Disclaimer

Hello dolls!

It's been a few days since my last post and I've missed you all haha ;)  For my 3rd festive mani of the season, I decided to tackle no. 2, "Santa/Rudolph".  I decided to use some Jamberry wraps that I received from rep Stacey Henderson :)


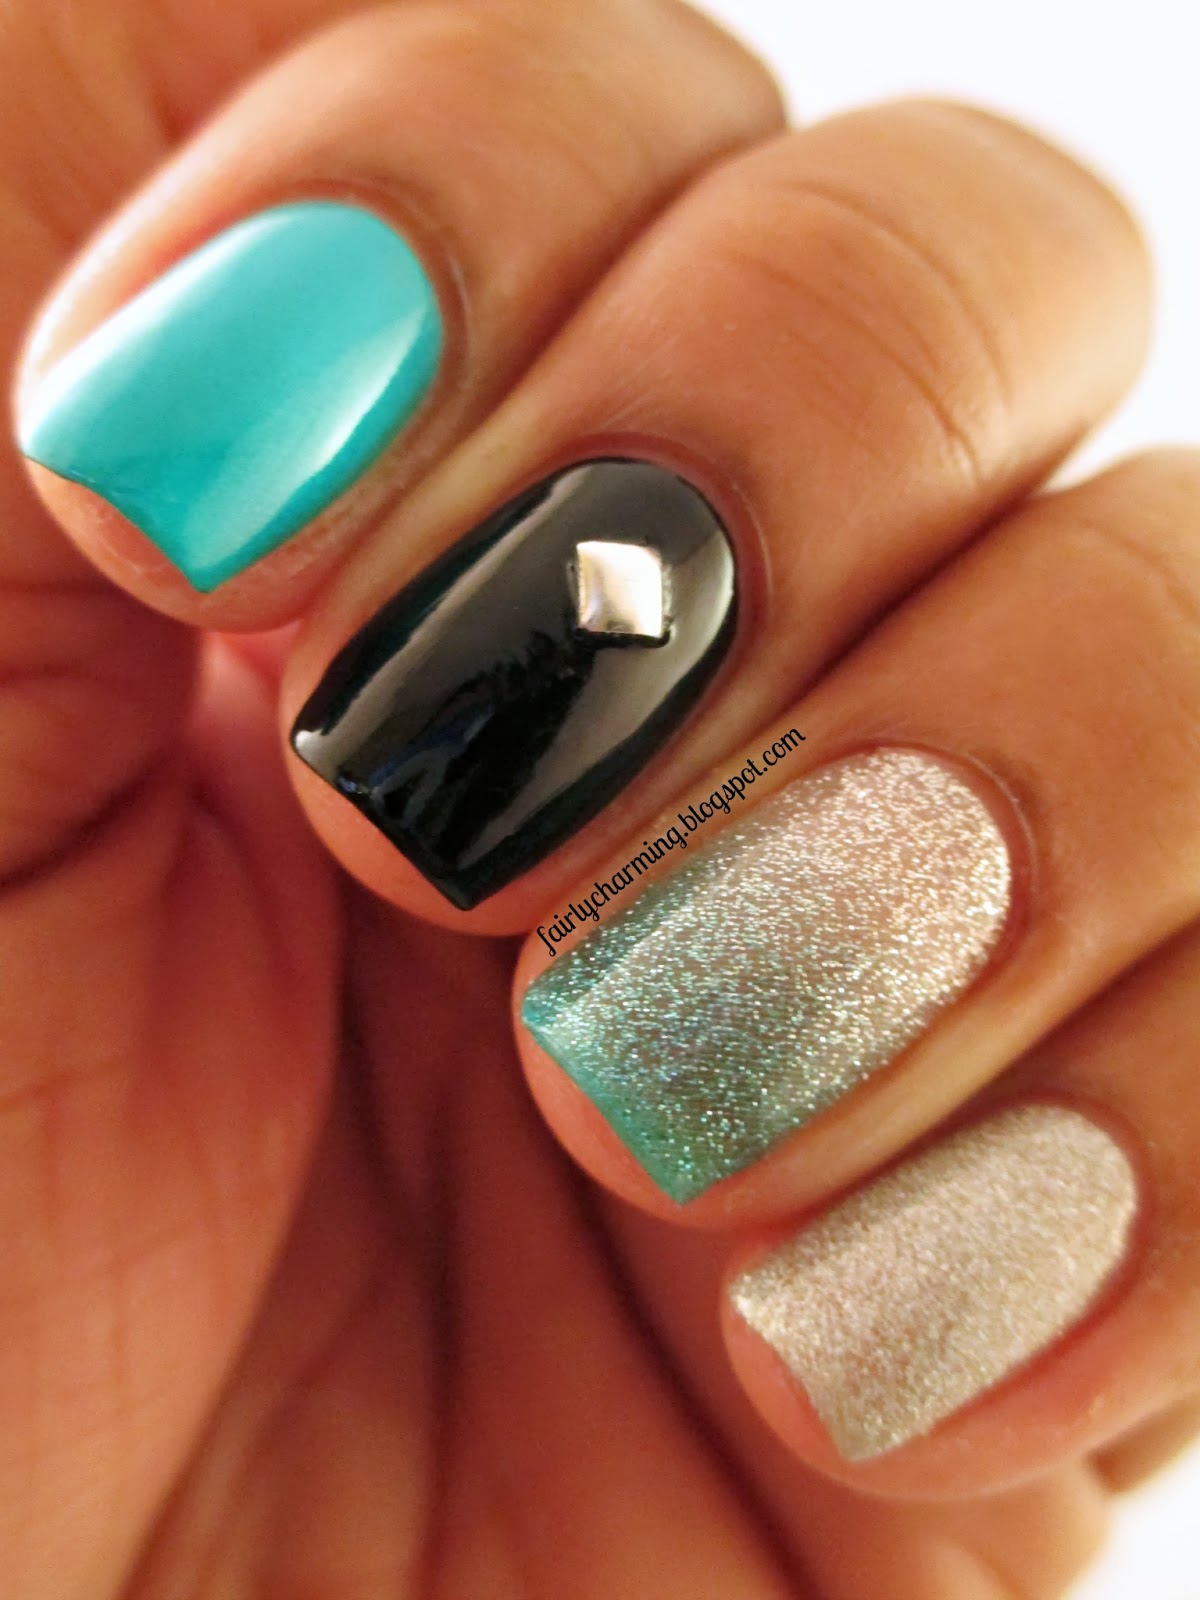
 Colors Used: Jamberry Nail Wraps, Simply Beautiful - Emerald City

I think the thing I like most about Jamberry nail wraps is that they're easy to use and really helpful when you're in a pinch.  I mean I slapped this look together pretty quickly before heading out the door to work.  And since I'm pressed for time these days, I can use all the help I can get in the manicure arena haha.  For those who are unfamiliar with how these wraps work, listed below are the application instructions...


I have used Jamberry wraps in the past and am really surprised at how the product has expanded.  On the plus side, the wraps are good for multiple manicures because they don't "dry out" like other wraps tend to.  This means you can use them as a full manicure, or mix and match like I have doe here and still have plenty to spare.  I also love that there are so many varieties of patterns and designs to choose from!  

Average wear time for these wraps is between 1 - 2 weeks.  I never keep a mani on for that long so I can't speak from personal experience, but I work with a lot of women who do wear them regularly and love that they can clack away on their keyboard without worrying about wear & tear on their wraps.


My wrap choices were "Santa Suit" and "Reindeer Games", both of which can easily be found under the Fashionably Festive tab when shopping.  If you don't currently have a Jamberry rep, but are interested in the product, reach out to Stacey for consultation :)  Jamberry Nail Wraps retail fro $15.


What do you think?  These totally have me in the Christmas spirit!

Until next time!

Stef <3


* This product was provided to me for review.  I received no payment or other compensation for the review of this product.  The opinions stated here are completely my own.  The contents of this review are based on my direct experience with this product.


Tuesday, June 24, 2014

Kiss Nail Dress - Comic Nail Strips

Hello lovelies!

Today I have a mani featuring some nail strips that I found while I was out shopping a couple of weeks ago...

 
A new trend that I'm seeing with this particular brand is that they're offering both full nail and french tip strips in the packaging.  I think it's a cool concept :)
 

Application of these strips is very simple.  You don't need a base coat (although I always use one), just make sure your nails are clean.  Match the right sized strip to you your nail and then peel it from the plastic sheeting and apply.  I recommend using a cuticle stick/pusher to press down the edges.  Fold the strip down and file away the excess.  That is the end of Kiss's instructions, but I always add top coat at the end to secure my free edges ;)  This time around I used a my favorite matte top coat from Mentality Nail Polish.

Kapow!!


I love nail strips because they make it easy to do a fun mani when you're short on time (which is happening to me more and more as of late haha).  These strips are supposed to last a week but I only had them on for a couple of days.  Looking for strips with more staying power?  Stay tuned in ;)

Until next time!

Stef <3

Wednesday, April 23, 2014

Everything's Coming Up Roses!

Hello dolls!

Today I have some water decals to share with you :)  I love using water decals when I'm strapped for time or failing miserably with me nail art.  Such was the case a few days ago when I did these hahaha...

 Colors Used: Spellbound Nails - Watermelon Seeds

I bought this set of decals from Daily Charme, an adorable indie brand that I've become quite smitten with!  This is their "Full Coverage Bright Pink Roses".


I paired it with Spellbound's Watermelon Seeds, the perfect creme pink with black glitters mixed in.  This polish is practically a one coater!  The dotted accents were just to pull everything together.  I recently am growing an appreciation for the color pink and I really like the way this mani turned out!

*le sigh*


In case you haven't heard, I am hosting a giveaway for my 2 year blogiversary!  Details can be found in this post.  With that being said, I bid you adieu...

Until next time!

Stef <3


* This product was purchased by me for review.  I received no payment or other compensation for the review of this product.  The opinions stated here are completely my own.  The contents of this review are based on my direct experience with this product.

Thursday, April 3, 2014

Stairway to Princess Jess!

Hello lovelies!

I have a new-to-me indie to share with you today... Drip Drop Nail Paint!  I discovered this brand via Instagram and had to give it a try...


 Colors Used: Drip Drop Nail Paint - Princess Jess and Stairway to Heaven, Orly - Pointe Blanche, OPI - Love. Angel. Music. Baby.

I had seen swatches of Stairway to Heaven (a white crelly with pink and gold glitter) on IG and fell in love with it (I'm a sucker for white crellys!), so I went to Jessica's shop to purchase it.  While there I scrolled by Princess Jess (a pink creme with gold glitter) and immediately knew I had to pair them in a mani.... soooooo I bought them both lol.

The formula is great with both polishes!  2 coats of Stairway to Heaven over white on my middle finger and 2 coats of Princess Jess on my index and pinky.


 I decided a zig-zaggy accent would be most fitting for an accent nail.  I used guides from Nail Vinyls and brushed OPI's gold satin polish (from the Gwen Stefani Collection) over white.  Everything was top coated with a fast-drying topcoat I purchased at a nail supply store in a huge bottle (I have no idea what brand it is because there is just a label from the store on the front lol, but it's seriously the best topcoat I've ever used!)

Heaven... I'm in heaven!


I meant to post these earlier in the week, but I had to bring extra work home and so blogging was put on the back burner.  My photo vault is getting crowded; I really need to go on a blogging binge or something haha :)

Until next time!

Stef <3


* This product was purchased by me for review.  I received no payment or other compensation for the review of this product.  The opinions stated here are completely my own.  The contents of this review are based on my direct experience with this product

Friday, March 28, 2014

It's My Golden Birthday!

Hello lovelies!!

Well, today is my golden birthday!!  What is a golden birthday you ask?  It is when your age and birth date are one and the same.  I am now 28... it's March 28th... you get the picture lol.  So I've decided to celebrate in style with my favorite ladies, The Golden Girls :D


 Colors Used: B Squared Lacquer - White Lights, Shimmer Polish - Tracy

This is actually a pretty simple mani.  I used a B Squared Lacquer's White Lights (a white crelly with gold glitter) and Shimmer Polish's Tracy as an accent nail.  As with the other Shimmer's I've reviewed in the past, I was blown away by Tracy!  I used 2 coats over a gold base and it is completely opaque!!  I think Cindy has truly defined the "glitter bomb"... holy cannoli!!  The studs came in a kit from Nail Art Society :)


 The Golden Girl decals are from Nail Spin.  Aren't they so cute??!!  I actually purchased a sheet of 15 decals of varying portraits of the ladies, but I couldn't chose between them so I used the group photo.  It's ever so blurry but I don't really care... I know who they are and that's what counts lol ;)

Happy, happy, joy, joy!!!


I hope you all have a fabulous Friday and a wonderful weekend!

Until next time!

Stef <3


*Shimmer Polish's Tracy was provided to me for review.  Nail Spin's decals were purchased by me for review  I received no payment or other compensation for the review of these product.  The opinions stated here are completely my own.  The contents of this review are based on my direct experience with these product.

Wednesday, December 18, 2013

Guest Post at From Polish, with Love!

Hello dah-lings!

There is a guest post by yours truly up at From Polish, with Love!  My fellow blogger and new friend Dani graciously asked if I would be interested in doing a guest post for her and I decided it had to be all class...


Details on the colors/products used and how I achieved this look can be found in the post.  So... go... now... pretty please?  :P

Until next time!

Stef <3

Sunday, December 1, 2013

Born Pretty Stickers & Scented Top Coat

Hello, darlings!

Late post tonight, I hope you don't mind ;)  Today I have some items that I received for review from Born Pretty Store  (*disclaimer)...


I was really excited when I got this in the mail!  I don't know if you can tell, but there are flowers in the scented top coat... it's adorable!!  When I asked for this polish, I knew that the scent would be sent at random (meaning you don't get to pick the scent you will recieve).  This one is "Mint".  When dry, it smells like light flowers to me.  It's very faint and quite pleasant :)

Onto the stickers!


 I ended up wearing these for 2 days and I really liked them.  The design is super cute and the stickers are a cinch to apply.  Downside... they're not real polish, they're more like vinyl.  I eventually had to take them off because they started lifting at the tips and sides.  Kind of a bummer :\  But I got lots of compliments while wearing them and they brightened my mood whenever I glanced at them so it was an overall good nail experience haha.


The scented top coat ($1.99) and rainbow stickers ($3.99) can be found at Born Pretty's online store.  Not only is there free international shipping but if you use code QZL91 you can receive 10% off of your purchase :D


Wishing you all the best!

Until next time!

Stef <3

* This product was provided to me for review.  I received no payment or other compensation for the review of this product.  The opinions stated here are completely my own.  The contents of this review are based on my direct experience with this product.

Wednesday, September 18, 2013

Joby Nail Art's Fight Against Breast Cancer

Hello, dolls!

Today I want share a mani I did in support of the fight against breast cancer.  When I sit back and think about the amount of people that I personally know who have fought (and in some case lost) the battle with cancer... it's mind blowing!  When I was approached by Joby Nail Art to participate in their Think Pink promotion, I immediately accepted :)

Joby Nail Art, Think Pink Promotion, pink, stripes, glitter, nail decals, Revlon Temptress, Daisy Nail Lacquer Ja-Make-Can-Me-Crazy, breat cancer awareness, Susan G Komen, Save the Tata's
 Colors Used: Revlon - Temptress, Daisy Nail Lacquer - Ja-Make-Can-Me-Crazy (pink glitter) and White Diamond, China Glaze - Fairy Dust

Joby Nail Art makes/sells really awesome nail decals.  As most of you know... I loooove decals!  They are great if you want a beautiful look and are pressed for time.  Or if you feel like your nail art skills are struggling, slapping some decals on can spiffy up your mani.  This happens to me all the time! Especially when I'm tired...


These decals retail at $2.99 for a sheet of decals (about 40 stickers) and 100% of all proceeds from the sale of “Pink Ribbon” nail art decals will be donated to The Susan G. Komen Cancer Foundation.  A really sweet gesture, in my opinion :)

I really like the way that these decals lay on the nail.  You know how with some decals, they can feel raised or bubbly?  Or sometimes they're difficult to place because they're not very flexible?  I had zero trouble with these.  I'm thinkin' Joby may be my new go to store for nail decals!


 Get some nail decals while contributing to the fight against Breast Cancer this year?  Why not?? :D You can shop Joby Nail Art’s website during the promotion period, 9/21-10/6/2013
  Be part of the cure. Join us in the fight! 


 (*donation applies to NA09-32 only during promotion period)


Until next time!
Stef <3

* This product was provided to me for review.  I received no payment or other compensation for the review of this product.  The opinions stated here are completely my own.  The contents of this review are based on my direct experience with this product. 

Wednesday, May 29, 2013

Not All Nail Stickers Are Created Equal

Hello, dearies!

Quick post for you today.  I decided to play with some nail stickers that I had stashed away in a drawer...

 Colors Used: China Glaze - Turned Up Turquoise, Rimmel - Black Satin, OPI - DS Coronation

So my thumb is a nail sticker from Kiss.  I picked this up last July at a CVS.  The other sticker is the glittery ombre on my ring finger.  This is an H&M product that I picked up a couple of months ago.  

The reason for this posts title is that although the blingy Kiss sticker feels much more solid on the nail, the H&M stickers are extremely pliable and easy to shape. I just like the look of them better...


As a side note... I'm so glad I bought Turned Up Turquoise!  It's incredibly versatile and gorgeous with every pairing I've done :)


Short and to the point today haha...

I'll have my final mani for the May TPC up tomorrow, yay! (Hint: The force is strong with this one...)

Until next time!

Stef <3

Saturday, May 25, 2013

What is This?

Hello, dearies!

Sooooo I am in a bit of a pickle.  I have quite a few mani's that I did/photographed before purchasing my light tent.  Now that I have it, I don't want to post those poopy old photos lol.  So that means I created another mani of randomness because I was uninspired but wanted to shoot something new in the tent.  I've heard this randomness referred to as a skittlette?  I don't know what to call it, other than odd...

Color Club Mrs. Robinson, Charlotte Russe Smoulder, glitter, ombre, skittle, skittlette, stripes, skull, H&M nail stickers, purple, charcoal, grey, silver, holo, nails, nail art, nail design, mani
 Colors Used: Color Club - Mrs. Robinson, Charlotte Russe - Smoulder, OPI - Coronation and Which is Witch?

I literally was about to head out the door to a birthday party, so I painted my nails in a random pallette.  When I got home I decided to bedazzle them haha.  Mrs.Robinson and Smoulder were 2 coats while Coronation what 3....

 (L - with flash, R - without flash)

I used a straw dipped in my polish bottles to get the splatter effect on my index finger.  The skull is an H&M nail sticker.  I used a cheapy kitchen spnge to do the ombre on my ring finger and used a striping brush for the details on my pinky :)


"Maaaaaahh... I'm going to get you!!"

I've finally realized what is so fun about ombres, so just expect to see them popping up more frequently.  Like tomorrow. :P

Until next time!

Stef <3

Sunday, April 29, 2012

Church Mani: Nail FAIL! :(

Hey there ladies,

I hope this Sunday has treated you well :)  My post today will probably be ranty and full of angsty irritation. Grrrr....

For starters let me just say that I am having a terrible, no-good, very-bad nail weekend (and it makes me mad!).  I bought some lacey nail stickers that I thought would be really cute as french tips on my nails for church today...

I bought these for $1.99 at a Rite Aid  drugstore
I applied 2 coats of CG - Love Letters to my nail beds.  Then I added 1 thin coat of  Sally Hansen -  White On to the very tips of my nails to "wrap" them.  And then I busted out the nail glue (to help secure the stickers) and started applying away...


I should mention that I did these yesterday afternoon before getting ready to see an LA Philharmonic concert (date night, woohoo! lol).  A) These were a pain in the butt to apply. B) From far away they were cute but up-close they looked like a mess.  Partially my fault, I suppose.  C)  They started to lift / peel off by the time we went to dinner 3 HOURS LATER!  I applied 3 coats of SV to these suckers and still they couldn't hang!  I was pretty peeved!

When we got home I immediately took them off and decided to do a simple frenchie with stickers on my ring-finger beds (because those were the only ones that stayed on well).  Aaaaand I mucked it up horribly!


Colors Used: Sally Hansen - White On, China Glaze - Fairy Dust
I was impatient with this mani because I was tired and I just wanted to go to bed.  I did a terrible job with the tips and then I didn't wait for them to dry before adding the Fairy Dust.  BIG mistake.  HUGE!  The Fairy Dust made the White On do this weird bubbling / smearing thing, but with only 5 hours of sleep left to look forward to, I wasn't about to start over.  So I Seche Vite-ed it and went to bed.
My tips for today:  Be careful as to what products you choose to use on your fingers and BE PATIENT!  Good manis come to those who wait lol :)
Until next time!
Stef <3