Showing posts with label Polka Dots. Show all posts

Saturday, November 8, 2014

A Spotted Bordeaux

Hello dolls!

I hope you all are enjoying a fantabulous weekend!  I was so excited that it finally got cool enough to feel like Fall last weekend and today... we're back to 90 degree weather.  I'm so mad!!  but, I'm not going to let the weather keep me down.  For today's mani I have a simple nail art look inspired by my new favorite color for this season, wine/burgundy...

 Colors Used: Revlon Parfumerie - Bordeaux, Julep - Felicity
I know that nude is the it color for Fall for 2014, but forget that noise.  I need color!!  So I decided I need to pick my own color for the season and this is what I went with ;)


 I started with 2 coats of Bordeaux which, when dry, smells of deep berry yumminess.  I then topped it with Mentality's Matte top Coat.  Once it dried, I took a dotting tool and applied Felicity and that's it!

Fall has arrived, even if California refuses to accept it!!  :P


If I get more time to myself, I will put together a SAFS post., otherwise I will be back next week with some more nail art...

Until next time!

Stef <3

Tuesday, November 4, 2014

Loverly & Fairly Charming

*Disclosure

Hello dolls!

Today I have teamed up with Loverly to design a cute wedding nail art look!  When searching through their collection of gowns, I came across one that made me reminisce on my own wedding day.  Knee-length, ivory and sweet.  I didn't want any frills on my day, just the simple joy of sharing our vows in front of our loved ones.  My one regret is that my nails were kind of blah on my wedding day.  i was too stressed and too busy to do anything cute *tear*.  So when I was approach by Loverly to do this collab, I thought, "Yay!  I get a second chance!!"...

 Colors Used: Rica - Robin's Egg Blue, Sally Hansen - White On, Acrylic Paint

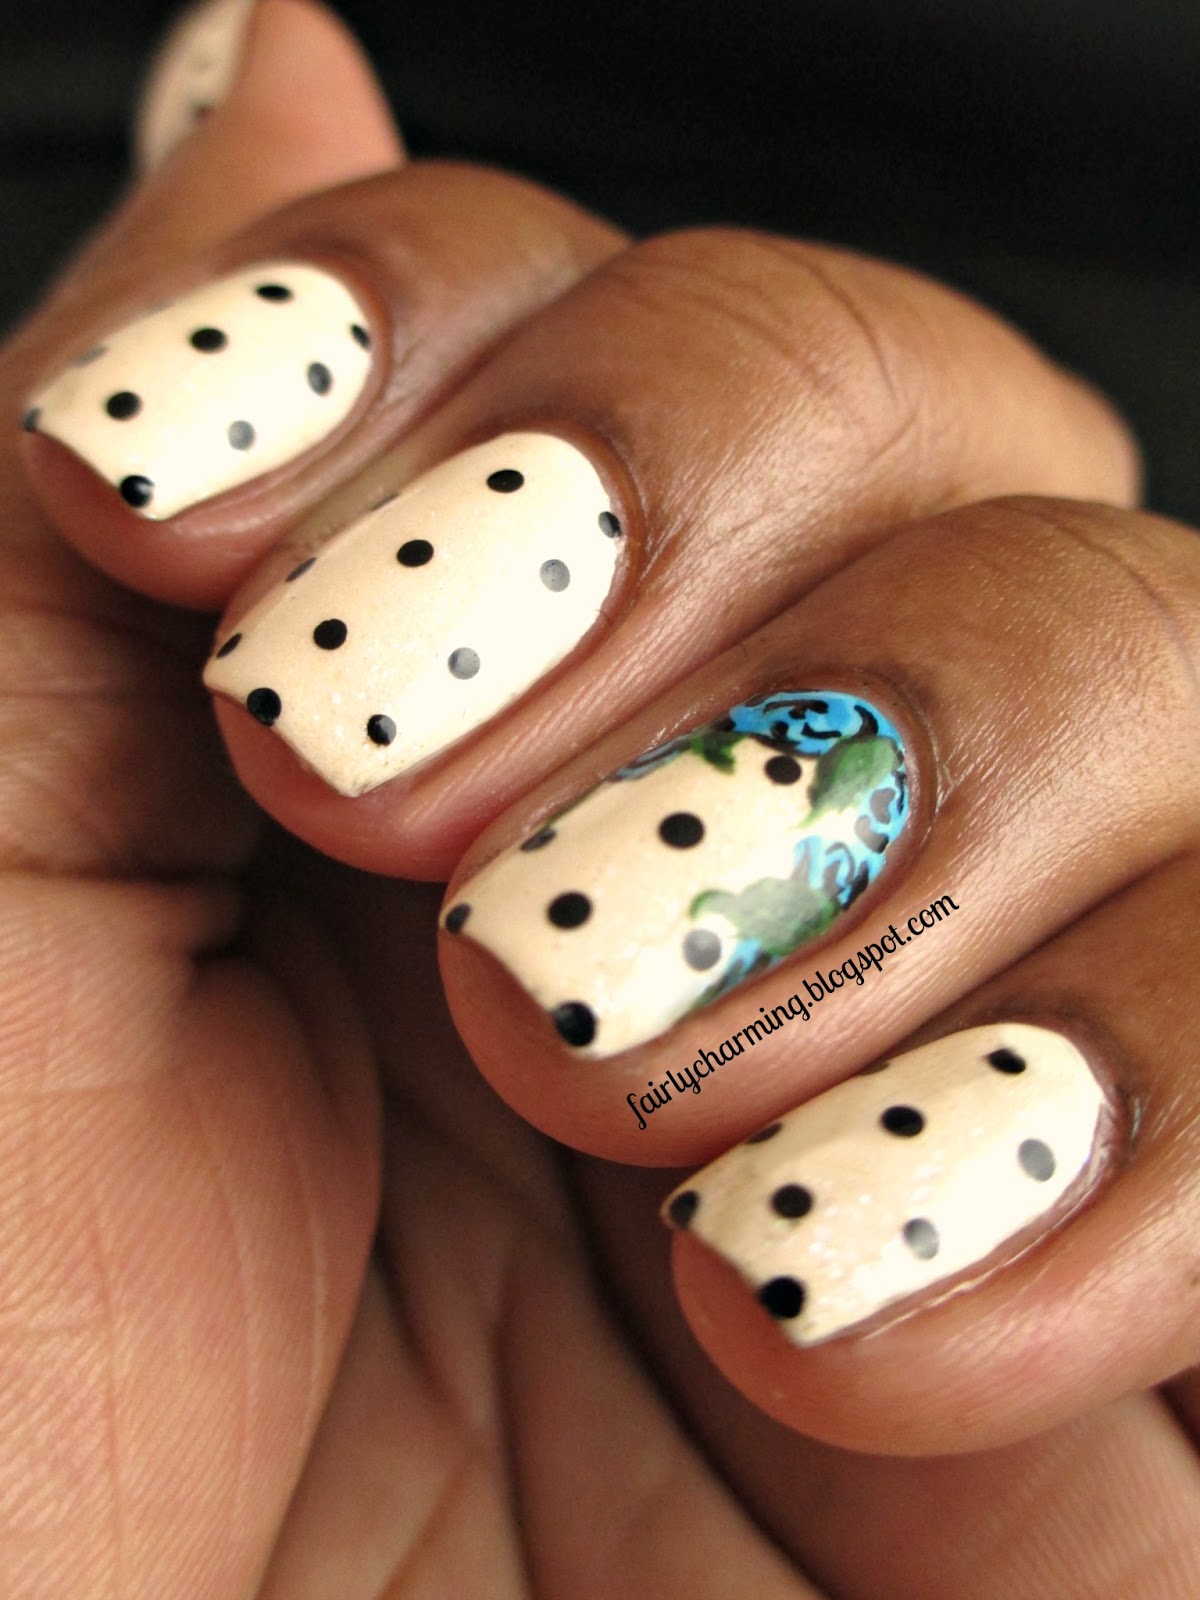
I decided to take the "something blue" approach using a Tiffany's blue color on my tips.  I then took a smaill dotting tool and applied white polka dots...


 With a detail brush and acrylic paints, I painted my bow.  Sweet and simple :)


 I really enjoyed working on this project and taking a stroll down memory lane...


I'm curious to know what you lovely ladies had on your nails for your big day?   Or what you plan on rockin' when you become a bride??

From what I can see, Loverly seems like an excellent reference for wedding planning and inspiration.  I highly recommend checking it out :)

Until next time!

Stef <3


*I received no payment or other compensation for the review of this website.  The opinions stated here are completely my own.  The contents of this review are based on my direct experience with this product.

Tuesday, October 7, 2014

Eyeballs!

Good evening lovelies!

I have some spooky late night nail art to share with you muahahahaha...


Halloween, Halloween 2014, KBShimmer, eyeballs, spooky, black, polka dot, nails, nail art, nail design, mani
 Colors Used: KBShimmer - Eclipse, Sally Hansen - White On, China Glaze - Capacity To See Beyond, Essence - L.O.L., Love & Beauty - Purple

I love this time of year.  It means non-stop fun themed manis from now until New Year's Eve!  I decided to kickstart my Halloween nail art with eyeballs.  Because... well, floating eyeballs are just plain creepy.


 I started with my black base and then used multiple sized dotting tools to create my eyeballs.  I've been asked on a fe ocassions how I get my dots to be evenly round.  The best advice I can give would be to lightly touch your dotting tool to your nail.  I find that if you are forcefully pressing your dotting tool onto your nail bed you will get uneven dots and you'll possibly dent/pick up your base color underneath.  A light touch is all you need, the tool will do the rest :)

I had considered doing veins, but I didn't want to cross over into the realm of frightening lol.


Are there any Halloween nail designs that are a long time favorite of yours?  I personally love Frankenstein :P

Until next time!

Stef <3

Sunday, September 28, 2014

Dotted Frenchie

Hello dolls!

Happy Sunday to you all :)  Sorry I've been MIA the last few days, I've been putting in some serious quality time with the hubs, my family (immediate and in-law's) and close friends (who might as well just be family lol).  Very fun and very exhausting!  So I'm cheating this evening and pulling some nail art I did a couple of weeks ago but never got around to posting :P

 Colors Used: Daisy Nail Lacquer - White Diamond

First off let me that you all for you're lovely comments and feedback in my last post!  It's sometimes difficult for me to get back to blogger to comment on replies, but I read all of the emails and it really does make my day.  Thank you thank you thank you!!  Also I'm very grateful for your tips and suggestions regarding my watermark.  It is a work in progress as I am still getting used to this new-to-me-photo editor, but I did change the color to white (it totally looks much better than the black haha).


This mani was pretty quick and simple.  I was in the mood for a french tip, so I painted all of my tips white and then shaped them with a french brush and acetone.  I buy my french brushes from Jolie Polish because I'm a big supporter of indie brands, but you can also find french brushes at Sally's and other beauty supply stores.  

I took a medium sized dotting tool and with the same white polish to created my polka dots.  I top coated and that was it!


I've got some exciting stuff coming up this week to share with you... and by share I mean give... away.  Ooops that's still supposed to be a secret!  ;)

Until next time!

Stef <3

Friday, September 19, 2014

Matchy Matchy Dotticure

Hello lovies!

Happy Friday to you all :)  For today's post I have a dotticure that I did about a week ago.  I had recently broken the corner off of my middle nail and had to do some serious filing (sad day).  To cheer myself up, I decided to paint my nails to match my purse.


I am obsessed with the design on this purse!  I stalked the Fossil store for months hoping for some good fortune (i.e. a sale haha).  I randomly found it marked down significantly at a Ross and snatched it up :D

Colors Used: Julep - Gunta, OPI - The "It" Color and Amazon... Amazoff,  Revlon - Bordeaux, Love & Beauty - Strawberry, Wet n' Wild - Club Havana, Rimmel - Steel Grey

I used a LOT of polishes for this mani.  My poor nail station looked like a storm hit it by the time I finished lol.


 This mani was super simple to create.  I used 2 coats of Gunta as my base and then went thru with a large dotting tool and randomly placed my dots.  I tried to do an even mix of overlapping and open space on each nail. 

It's at times like this (when I really love a design) that I hear Thor's voice in my head... "Another!".


Thankfully my nails tend to recover quickly from trauma (I know... I'm so dramatic lol), so they're back to a presentable length.  I'll have another edition of "Sunday's Are For Swatching" up this weekend :)

Until next time!

Stef <3

Friday, September 12, 2014

Arrows!

Hello lovelies!

I have a super simple mani to share with you today :)  One polish, one acrylic paint, one detail brush and one dotting tool (altho a toothpick and bobby pin could definitely be used instead)...


 Colors Used: China Glaze - Friends Forever, Right?, Acrylic Paint

I started with 2 coats of FFR, from China Glaze's new The Giver Collection.  It's a really pretty pale pink polish that surprised me with it's application.  the first coat was quite streaky but then the second coat made everything all better haha.


With my detail brush, I painted vertical lines for my arrows.  Just like I do with dotting, I started with the center and worked my way out, being sure to keep them symetrical.  I was in a bit of a hurry because I had somewhere to be, so the arrows aren't quite as neat as I wanted *sigh*...


I keep wanting to say, "Pew, pew, pew!" lol...


Nailspiration credit goes to the lovely Gianna over at Nailstorming :)  I hope you all have a wonderful weekend...

Until next time!

Stef <3

Tuesday, August 19, 2014

Dots & Flowers That Glow!

Hello dolls!

Today's post features a mani I did a couple of weeks ago.  I'm trying to get used to using acrylic paints for nail art, but it's been a struggle haha.  I decided to work on my rose skills,,,


 Colors Used: Polish My Life - Birthday Suit, Serum No. 5 - Sky Lights, Acrylic Paints

So I started with my off-white base which was 2 coats.  I then applied 1 coat of Sky Lights, a glow-in-the-dark (GITD) topper.  I then went to work with my paints...


I'm actually really pleased with the way this design came out.  What I like most about scrylic paint is that it doesn't smudge once I've top coated :D


 The GITD polish is just amazing.  It literally charged in like 5 seconds to this unbelievably bright blue glow.  I'm in love! 

 I've just gotta keep on practicin' I guess!

I'm really fascinated by GITD polishes.  Serum No. 5 seems to carry the best ones that I've seen, but I'd definitely love to hear other recommendations :)

Until next time!

Stef <3


Tuesday, June 24, 2014

Kiss Nail Dress - Comic Nail Strips

Hello lovelies!

Today I have a mani featuring some nail strips that I found while I was out shopping a couple of weeks ago...

 
A new trend that I'm seeing with this particular brand is that they're offering both full nail and french tip strips in the packaging.  I think it's a cool concept :)
 

Application of these strips is very simple.  You don't need a base coat (although I always use one), just make sure your nails are clean.  Match the right sized strip to you your nail and then peel it from the plastic sheeting and apply.  I recommend using a cuticle stick/pusher to press down the edges.  Fold the strip down and file away the excess.  That is the end of Kiss's instructions, but I always add top coat at the end to secure my free edges ;)  This time around I used a my favorite matte top coat from Mentality Nail Polish.

Kapow!!


I love nail strips because they make it easy to do a fun mani when you're short on time (which is happening to me more and more as of late haha).  These strips are supposed to last a week but I only had them on for a couple of days.  Looking for strips with more staying power?  Stay tuned in ;)

Until next time!

Stef <3

Monday, May 26, 2014

Periwinikle... Meet Mustard!

Hello dolls!

I have a simple polka-dot mani to share with you today :)  One of my all-time favorite color combos is periwinkle and mustard.  I purchased a mystery bag of prototype polishes from Drip Drop Nail Paint and in it was a periwinkle polish that perfectly matches a country style dress that I own.  Needless to say I had to do a corresponding mani (*disclaimer)...


 Colors Used: Drip Drop Nail Paint - #210, KBShimmer - Chick Me Out

#210 is a pretty periwinkle creme with just a touch of holo shimmer in it.  It is practically a one coater, with just 2 thin coats applied for full opacity.


 For my yellow dots, I used KBShimmer's "Chick Me Out" (another amazing creme polish) with a small dotting tool.  A simple dotticure that I am head over heels for!


I want to wear this polish all the time, but seeing as it's the only one made... I am going to treat it like the friggin Heart of the Ocean lol.

I may be unable to post for about a week.  I'm officially moving on Thursday and knowing that my cable company takes forever and a day to show up and set up... well, anything... I may be without internet until next week :'(  I hope you'll stick around tho as I have a lot of new product reviews to share with you :)

Until next time!

Stef <3


* This product was purchased by me for review.  I received no payment or other compensation for the review of this product.  The opinions stated here are completely my own.  The contents of this review are based on my direct experience with this product.

Thursday, May 8, 2014

Framing the Grass

Hello lovelies,

I've been preparing my apartment for a move that the hubby and I are making at the end of the month and I've been too pooped to post!  Thankfully I have a few manis sitting in my unedited folder to get us thru 'til June... all is not lost ;)  For today's post, I have some polka-dot framing nail art with a shade from the China Glaze City Flourish Collection that came out this Spring...

 Colors Used: China Glaze - Grass is Lime Greener, Rimmel - Black Satin

We all know how much I love neons, so when I saw photos of this beauty I knew i had to have it!  I'm pretty sure everyone in my area felt the same way because I could not find it in stores anywhere near me.  I ended up buying it in a destash sale from Indie500Nails (thank you Amy!!).  I will admit the formula on this polish was not ideal; I applied 3 coats for opaqueness.  While It was slightly streaky, I still loved how it looked on :)


I then took a medium sized dotting tool and applied my black polka dots.  I liked it but thatought it needed little somethin' somethin'.  So I pulled out my black striper and framed my nails.  Aaaaaand I loved it!

Pastel neon's... who'd have thunk!


Wishing you all a very happy Thursday and a wonderful weekend :D

Until next time!

Stef <3


Sunday, April 27, 2014

Shimmer Polish - Julia

Hello lovelies!

Sorry for my absence, lots of things going on in my world thjat needed my attention *bleh!*.  Anywhosy, I'm back today with a review of another Shimmer Polish (*disclaimer)...


 Colors Used: Shimmer Polish - Julia, Emma Jean Cosmetics - Blueberry Tart, Orly - Pointe Blanche

This is a simple dotty skittle mani that I threw together and ended up absolutely in love with!  I started with my base of Emma Jean Bluberry Tart (it's scented and smelled good enough to eat! but that is for another post :P).  I also used Orly's Pointe Blanche which is meant for french tips but I'm not a rule follower haha...


I used 3 thin coats of Julia over my baby blue base and it covered perfectly.  Julia is a glitter bomb of of icy blue glitters and it was inspired by Cinderella!  I could totally see Cinderella rocking this polish.  Application was a breeze with this glitter, as with all of the Shimmer's I've used.  I seriously can't say enough good this about this brand; Cindy has made an amazing product!


This and many other fabulous shimmy shimmers can be found in the Shimmer Polish shop :)


Wishing you all a very happy Sunday *hugs*...
Until next time!  

Stef <3


*Shimmer Polish's Julia was provided to me for review.  Emma Jean Cosmetic's Blueberry Tart was purchased by me for review.  I received no payment or other compensation for the review of these product.  The opinions stated here are completely my own.  The contents of this review are based on my direct experience with these product.

Monday, April 14, 2014

Speckled Spring Eggs

Hello dolls!

Long time, no see!  I hope all is well in the nail blog neighborhood ;)  Today I have some simple nail art that I did to get into the full swing of Spring...


Colors Used: Sally Hansen (Insta-Dri) - Blue Away, Julep - Carrie and Blake, Sally Hansen (Xtreme Wear) - Lacey Lilac and Mint Sorbet, Sinful Colors - Nirvana

I love love love doing speckled skittle mani's!  It's easy nail art that's cheerful and fun :D


I started with my mix of pastel colors as my base.  I then added a smattering of brown dots using a small dotting tool.  Lastly I topped it with Mentality Polish's matte top coat (a new favorite!)...

Super easy!


As I mentioned last night on Instagram, life has just been really busy so I had to put blogging on the back burner for a bit.  My plan is to have scheduled posts from here on out; I'm hoping I can keep with it lol.

Until next time!

Stef <3