Showing posts with label Purple. Show all posts

Saturday, October 11, 2014

Witches Brew!

Hello dolls!

Today's post is probably some of the busiest nail art I've done in a while.  While I prefer simple/clean looking nail art, I wanted to get some more practice in with acrylic paints.  And... well... I just love Halloween manis ;)

 Colors Used: KBShimmer - Eclipse, Painted Polish - Drunk on Holo, Candied Apple Polish - Starch and Lilacs, Acrylic Paints

There's a lot going on here!  Let me start with my inspiration hahaha.  I've been trying to think outside the box with my Halloween manis this year.  I want to challenge myself to try other things.  After 3 years of Frankenstein's... he needs a little rest :P

So I thought what about a bubbling cauldron?  I'm loving bubble art right now!  Then the classic Shakespearean witches chant popped into my head. "Double, double, toil and trouble.  Fire burn and cauldron bubble!"  I was sold.  A witch mani it would be!


I did this in stages because I had very limited time on my hands (ha!).  I stared with my base colors (2 coats for each), top coated and went to work.  I woke up the next day and started on my design with acrylic paint.  I need more practice with letters *sigh*.  But I do love the way the witch and cauldron came out :D

Hmmm... what other Halloween things bubble?  Lol I'm a little obsessed!


I hope you like it!  Like I said, I know it's busy but sometimes that's a good thing right?  ;)

Until next time!

Stef <3

Wednesday, August 27, 2014

Forrest at Twilight

Hello dolls!

So, I was sitting around yesterday trying to find some nailspiration and nothing was coming to mind.  I looked outside my window and the clouds were an array of purples, pinks and oranges.  I decided I would do a twilight gradient...


 Colors Used: Revlon Parfumerie - Wild Violets, Love & Beauty - Purple, China Glaze - Peonies & Park Ave, American Apparel - Manila, Black and White Acrylic Paint, Mentality - Matte Top Coat

This is one of those rare times where I'm wearing what I'm posting haha.  I can't stop staring at my hands!


I started with a white base of Sally Hansen White On, just one coat so that it would dry quickly.  I then layered my 4 polished on a make-up sponge and dabbed away.  After I cleaned up that whole mess, I painted some pine trees with black acrylic painy (my nerd of a husband said, "Oh! You painted confiers!").  I dotted the stars with some white acrylic paint.  I topped it all off with Mentality's Matte Top Coat and tada!

Makes me wanna go camping!


I think it's time for a nap, looking at these makes me sleepy.  It could also be the eucalyptus-mint candle that I've got burning haha...

Until next time!

Stef <3

Wednesday, July 9, 2014

Nailspiration with Operatic Makeup

Hello lovelies!

I have a special post to share with you today.  A couple of weeks ago I saw some photos of some gorgeous makeup my dear friend Danielle did on a client.  Danielle is an Orange County/ Los Angeles based MUA that I have had the pleasure of singing/being wild with for a few years and I always blown away by the work that she does.  This particular look she did definitely conjoured up some nailspiration!


Let's start with the make-up first...

Colors Used: Urban Decay - Electric Palette (Urban and Savage)

I just love that purple!  And the hot pink adds some sass ;)  The palette that she used is filled with brightly pigmented shadows that I just drool over!

Anywhosy, this look got me thinking about the polishes I had in my collection that might be similar in shade and fun to mash up...

 Color Used: B Squared Lacquer - Body Electric and Royals, Color Club - Endless and Jackie OH!

This first polish that jumped to mind what "Body Electric" by B Squared Lacquer.  It's a white crelly with purple and hot pink hex glitters mixed in.


I then pulled out my other favorite B Squared, "Royals".  It's a gorgeous blurple jelly with holo glitters mixed in.  Color Club "Endless" and "Jackie OH!" are the pale and hot pinks I used.  I did a mixed drip/melt mani using a dotting tool and striping brush.

 I love!


I'm hoping Danielle and I can do more mash-ups like this one.  I love the challenge!

If you're interested in seeing more of Danielle's work, you can check her out via Instagram (@operaticmakeup).  If would like to book her for an event, you can email her at operaticmakeup@gmail.com :)

Until next time!

Stef <3


Sunday, July 6, 2014

SAFS: An Indie Trifecta!

Hello dolls!

I hope you all are having a very happy Sunday :)  Today's post is another installment of my "Sunday's are for Swatching" segment. 


It's not something I do every Sunday (altho I probably should haha), but it's a great way for me to share some of the polishes in my collection with you without the stress of worrying about what nail art I should do along with it ;)  I have 3 indie polishes to show you for 3 different brands, so let's get started...

 Anonymous Lacquer - Purple Rainbows

Anonymous Lacquer is a new indie brand that I discovered via Instagram.  "Purple Rainbows" is a lovely purple holo that I instantly loved when I saw photos of it.  This polish has been reformulated because  the make felt her original base was too thick.  I purchased the first bottle (original formula) because I ain't no scaredy cat and I really like it.  Even tho the base leans on the thicker side, it's not difficult to apply. Shown is 2 coats with topcoat.  All in all a really lovely holo :)

 Lime Crime - Peaches & Cream

This polish... Oh, this polish!  This has been on my "I've gots to have it" list for a very very long time.  Every time I have visited Lime Crime in the hopes of purchasing a bottle, it's been sold out.  To be honest, I just stopped searching.  Then I saw that Lexi of Painted Polish was having a destash sale and she had a brand new, unused bottle!  It now has a happy home with me hahaha.  As with a lot of nude/peach polishes, it is slightly streaky.  I built up 3 coats and applied topcoat.  It reminds me of Crayola's Mac-n-Cheese crayon; I love it!

 Jolie Polish - Choji

Choji is a white crelly base with a mixture of bright colored hex glitters in multiple sizes.  While I was out shopping last weekend, a sales clerk commented on my nails saying they looked like they were covered in frosting and sprinkles.  I couldn't agree more! Shown is 2 coats with topcoat.  The base is a little stickier/thicker that I would prefer and I definitely had to do the "dab and drag" method with the glittery pieces.  But the result was well worth the effort.  This is a new fave in my collection :)  Jolie Polish also sells the most amazing clean-up brush I have ever owned.  I love them so much that I purchased 3 haha.  Definitely worth checking out!


I have some more indie swatches to share with you, hopefully next Sunday.  Question... do you like seeing a mix of indie swatches in a post or would you prefer seeing one brand at a time?  I personally like the variety but I'm curious to hear your thoughts :)

Until next time!

Stef <3

Monday, May 19, 2014

Shimmer Polish -Taylor

Hello lovlies!

I have another awesome Shimmer Polish to share with you today :)  This is Taylor and man oh man is she a beaut!

 Colors Used: Shimmer Polish - Taylor, China Glaze - Turned Up Turquoise, Orly - Dazzle, Orly Instant Artist - Grape

When I unwrapped this bottle of polish I was in awe.  A deep purple (I'd call it eggplant) jelly base with a mix of green, red, blue and purple glitters... agagagagaaahh!!


Pictured is 2 coats of Taylor over a dark purple base.  For the accent nail, I used striping brushes to do a negative space plaid design.  I threw in the heart for funsies ;)  All in all I like this look.  This is probably a color I'll pull out again around Halloween; it's a little too dark for my summertime madness haha.


This and many other amazing glitter polishes can be found in Shimmer Polish's Etsy shop :)

Until next time!

Stef <3


* This product was provided to me for review.  I received no payment or other compensation for the review of this product.  The opinions stated here are completely my own.  The contents of this review are based on my direct experience with this product.

Monday, November 4, 2013

Nailed Kit Review

Hello, lovelies!

Yikes... I can't believe it's been a week!  I'm so sorry, I've been a little busy in life.  Then I took advantage of the weekend to just relax and have a good time with freinds and family.  Impromptu blog vaca I guess lol.  But I'm back and have so much to share with you this week.  Let's get started!

Today I have a fun DIY nail kit to show you (*disclaimer)...

  
Nailed Kit Is just what it sounds like... A nail art kit!  It includes all of the materials one might need to create some fun/fabulous/adorable nail art.  There are quite a few styles to choose from, but I decided to go with the Cupcake Birthday Kit...

Nailed Kit, DIY nail art, subscription box, birthday, cupcake, all in one, nails, nail polish. nail art, nail design, mani

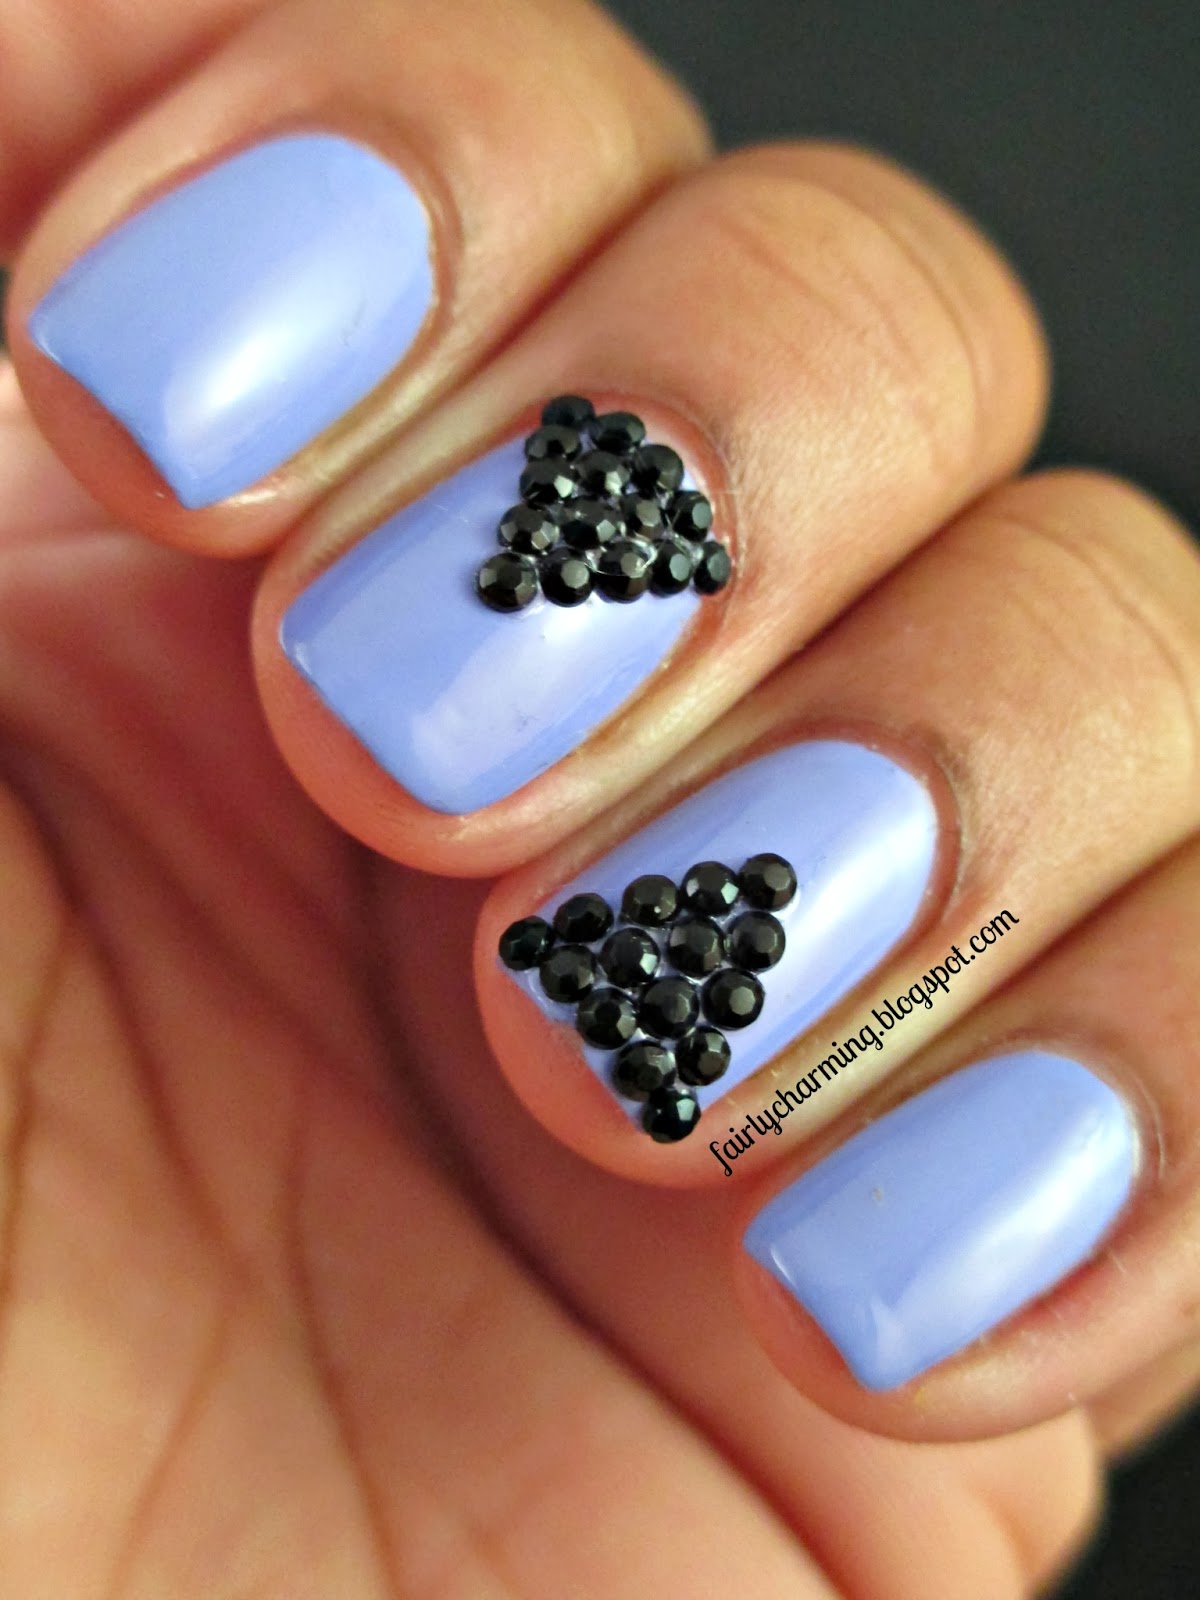
Inside the kit you will find nail polish strips, water decals, rhinestone/studs, an emery board and an orange stick.  Each packaged item has instructions on the back for application.  It's pretty fool proof... well, excpet for this fool lol.
 
Nailed Kit, DIY nail art, subscription box, birthday, cupcake, all in one, nails, nail polish. nail art, nail design, mani

The instructions for the nail strips said to stretch them over your nails.  Well, these bad boys (girls?) are really pliable and I actually LOVED the way that they looked.  Very much as if I had polished my the nails myself.  But... I was a little over zealous with the stretching and a few minutes later when I was ready to take some pictures, the strips shrunk back a bit and my nail line was peaking thru at the tips.  I'm a big dope!


So I pulled out the closest polish shade I could find (Color Club Endless) and all was right with the world lol.  The other polish pictured, for those who are curious, is Spellbound Nails Upelkuchen (birthday cake batter, I thought it was fitting haha).


I did a second mani I wanted to show the versatility of this box.  Polishes used here were Jesse's Girl Sprink Break, Sally Hansen Blue-Away and Lush Lacquer Clowning Around.  The one recommendation I will make when using this kit... the decals are pretty sheer so a really light base (I chose white) will help the color to pop.


There are so many options with this kit and this company.  You want to throw a nail party?  Awesome!  Get some food and drink and order a few kits for your gal pals... party hardy!  Or maybe it's a baby shower?  A bachelorette party?  They've got you covered.  You can also just buy a kit for yourself and create multiple manicures.  Aaaaand if you just want the cute little decals... you can do that too!  If you really love it, there are subscriptions boxes available as well.  So many choices!!  Nailed Kit is a really great option for anyone who is wanting to take the plunge into nail art :)

You can find out more about Nailed Kit via their website.


What do you guys think about this kind of box?  Let me know in the comments below :)

Until next time!

Stef <3

* This product was provided to me for review.  I received no payment or other compensation for the review of this product.  The opinions stated here are completely my own.  The contents of this review are based on my direct experience with this product.

Monday, October 21, 2013

Playing with Studs

Hello dolls!

I'm pulling a mani out of the vault for you today.  I decided to take a little blogging break over the weekend and then I ended up being so busy that I really didn't do any good nail art-ing lol.  So onto the pictures we go!

Kleancolor Signature Lavender, black studs, black diamonds, triangle, pyramid, black, purple, nails, nail art, nail design, mani
 Colors Used:  Kleancolor - Signature Lavender

This is a pretty simple one :) I started with 2 coats of Signature Lavender and I then top coated my nails...


I then used some black studs that I got in an H&M nail art wheel and, with a dotting tool and more topcoat, started stacking them pyramid/grape style.  5,4,3,2,1.  I let the studs set and viola!


These didn't stay on my nails for very long because I wound up picking them off lol.  I really don't do well with things sticking up off of my nails :\


I hope you all enjoyed this post!  I have at least one more halloween mani planned but that won't be posted until closer to the holiday.  This week I'm going to clear some more manis out of the vault (which means you'll be seeing some interesting stuff?  lol).

Until next time!

Stef <3

Tuesday, August 27, 2013

Born Pretty Drop Studs

Good evening, lovelies!

As promised, here is my second product review of the day!


Born Pretty, drop studs, review, Julep, Blakely, Kylie, Sephora by OPI, Spark-tacular, Orly, Dazzle, nails, nial art, nail design, mani
 Colors Used: Julep - Blakely, Kylie, Sephora by OPI - Spark-tacular!, Orly - Dazzle

I was contacted by a rep from the Born Pretty Store about a month ago and it was an OMG moment.  A lot of the major nail blogger that I admire have done a plethora of reviews for Born Pretty and I was definitely taken aback.  I decided to start with something simple to review...

I applied these studs the same way I do any other stud, with clear/top coat.  I put a dot of top coat down with my dotting tool, apply the stud and then top it with a coat of top coat.  Once it's dry, it is stuck.  Like really stuck!  I have not lost a stud yet using this method.  And I have no fear of ruining my natural nails with nail glue :)

  As you can see above, these studs are pretty flat.  No pointy edges to snag on anything.  This is a plus for me, because I'm totally a weirdo when it comes to textures and if something sticks up on my nail too much, I freak out lol.  These studs have a lot of potential when it comes to nail art.  I kept this mani simple to showcase the stud, but I definitely see art deco in it's future ;)

 Name: Drop Stud Rhinestone Acrylic UV Gel Nail Art Decoration #2
Item #: 6880
Quantity: Approx. 150 pcs
Cost: $4.99 USD
These studs came be found here at Born Pretty's store!
How do you feel about studs?  Something you'd rock or something that would drive you crazy??
Until next time!
Stef <3

* This product was provided to me for review.  I received no payment or other compensation for the review of this product.  The opinions stated here are completely my own.  The contents of this review are based on my direct experience with this product.

Saturday, July 6, 2013

My Sissy's Gettin' Hitched!

Good morning, dearies!

Today is the "big day" for my sister-in-law and I am so excited for her :)  Family and friends will be gathering today at an intimate ceremony overlooking the beach, showering the bride and groom with love and blessings.  Gaaah I love weddings!  Correction... I love attending weddings.  Planning them is a whole other story lol.

So, the mani I did for the occasion was inspired by a pin that I stumbled upon yesterday morning.  I just knew I had to reproduce it...


Julep Joanna, China Glaze Turned Up Turquoise, Love & Beauty Purple, mosque inspired, bridal party, bridesmaids, purple, teal, lavender, nails, nail art, nail design, mani
 Colors Used: Julep - Joanna, Love & Beauty - Purple, Rimmel - Black Satin, China Glaze - Turned Up Turquoise

The colors in this mani coincide with the colors of the dress I'll be wearing.The photos don't do the dress justice!  The one i have has a lot more turquoise and purple and a LOT less yellow lol.


 I started with 2 coats of Joanna as my base and then free handed the design with my striping brush.  My only complaint would be my nail length.  I had to give them a bit of a chop because they were getting weak and brittle from stress and lack of attention :\  I didn't want to have a really bad break so I took preemptive measures *sigh*...


Yay!

Well, I'm off to get ready for the day.  It's going to be busy busy busy!  Chissey... I'm so proud of you honey.  I know that you are going to make a beautiful bride.  While I'm sad to see you move clear to the other side of the country (waaaaaah!), I know that it's only a "see you later".  I love you so so much!!

Until next time!

Stef <3

Monday, July 1, 2013

A Green-Wish

Hello all!

It's Summer.  Wanna know how I know that?  Because is so ridiculously hot and humid!!  I've never understood this "looking forward to Summer" mentality.  Summer stinks and it makes me cranky.  It also makes me very lethargic.  At this point I'm just ranting... my apologies.  Moving on!  :D

Today's mani is focused around a polish that I was given for free during a recent haul at my fave nail supply store, A Green-Wish...


Daisy Nail Lacquer, A Green-Wish, skittlette, green, turquoise, purple, silver, holo, striping, nails, nail art, nail design, mani
Colors Used: Daisy Nail Lacquer - A Green-Wish. Love & Beauty - Purple, Orly - Dazzle, Love & Beauty - Highlighter Glitter, China Glaze - Fairy Dust

A Green-Wish photographed turquoise but in person leans more towards kelly green.  If kelly green and turquoise had a baby... this would be their offspring lol.  It's a beautiful 2 coater that dries with a satin finish...


This mani was just an excuse for me to use one of my "untried" polishes and to practice my striping.  It's good to brush up on techniques from time to time ;)


I'd expound some more but I think I'll just let the pictures do the talking...

Until next time!

Stef <3

Thursday, June 13, 2013

Che-Che-Chevron!

Hello, hello!

It's almost the weekend and I am ecstatic!!  I have been working hard this week preparing for summer camp.  I'm super sleepy and very achy, but it's definitely been a labor of love :)  This little blurb, however, has nothing to do with today's manicure lol...


Julep Tina, Sally Hansen Petal Pusher, Jamberry Nail Shields, Jamberry Summer Chevron, nail wrap, holo glitter, lavender, chevron, nails, nail art, nail design, mani
 Colors Used: Julep - Tina, Sally Hansen - Petal Pusher, Love & Beauty - Disco Glitter, Jamberry - Summer Chevron

I wanted to try out another Jamberry Nail Shield (find more info here), but shockingly could not find any polishes in my collection that matched the wrap precisely :(  I tried to stay in the color palette's family...


 2 coats for Tina (lavendar) and then I layered Petal Pusher and Disco Glitter to create a jelly sandwich look.  I loved how the holo glitter peeked thru ;)


Overall, a mani success!

I just wanted to take a second to let you all know how amazingly wonderful all of your commenting is :)  It really does brighten my day when I get to read them all!  You all are an amazing support system and I adore you!!

 My next post will be a continuation of the Step Into Summer Challenge.  Definitely worth checkin' out...

Until next time!

Stef <3